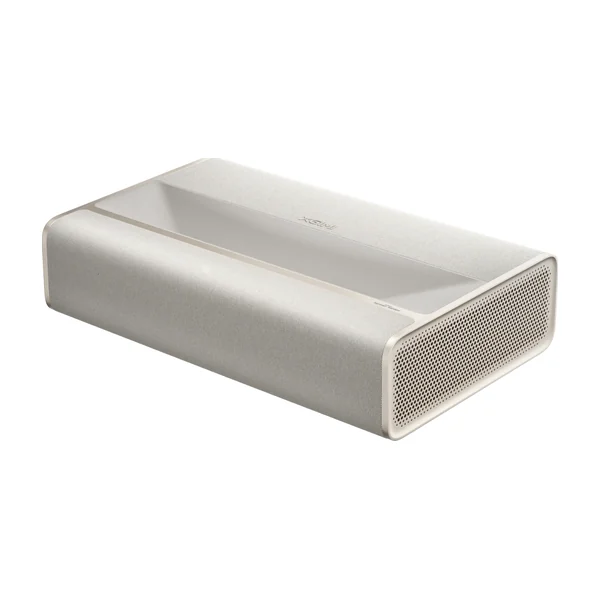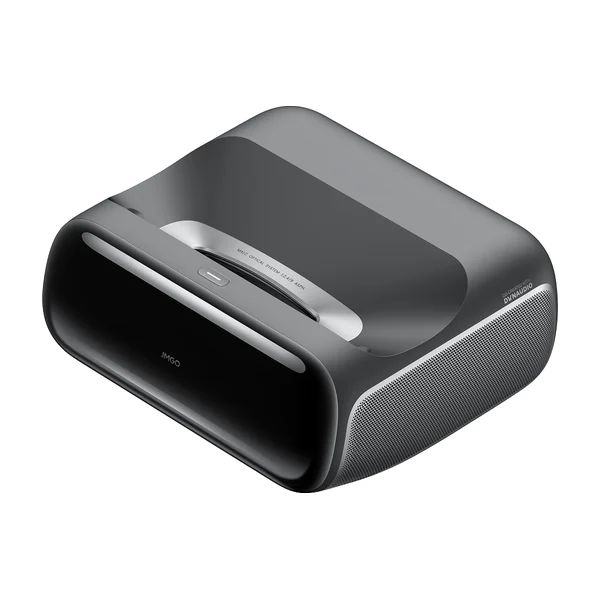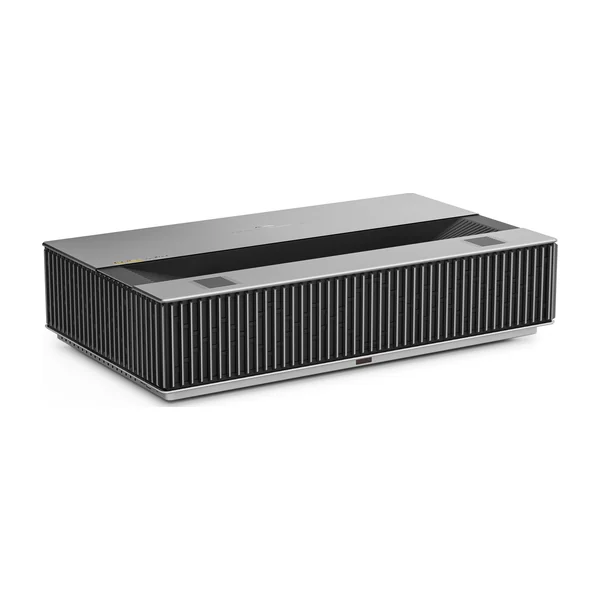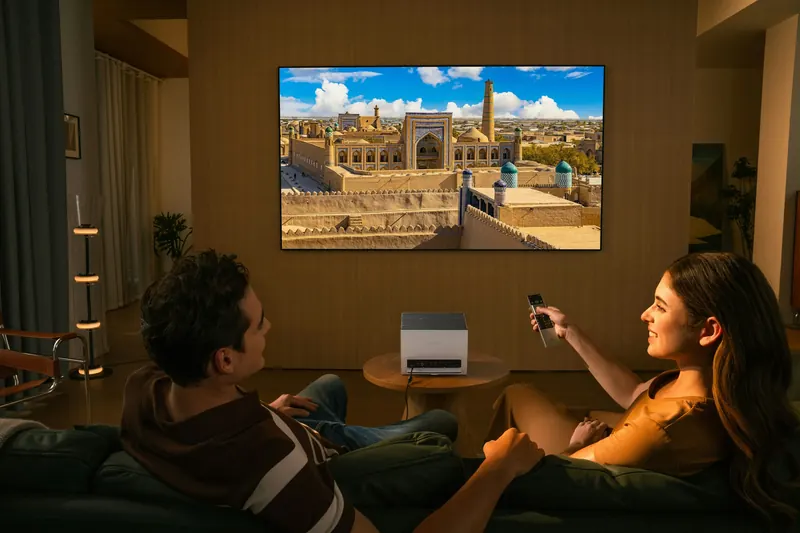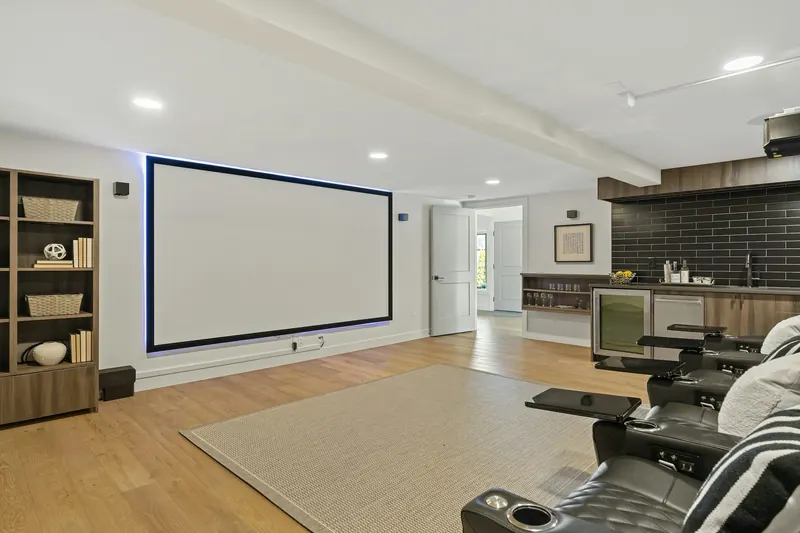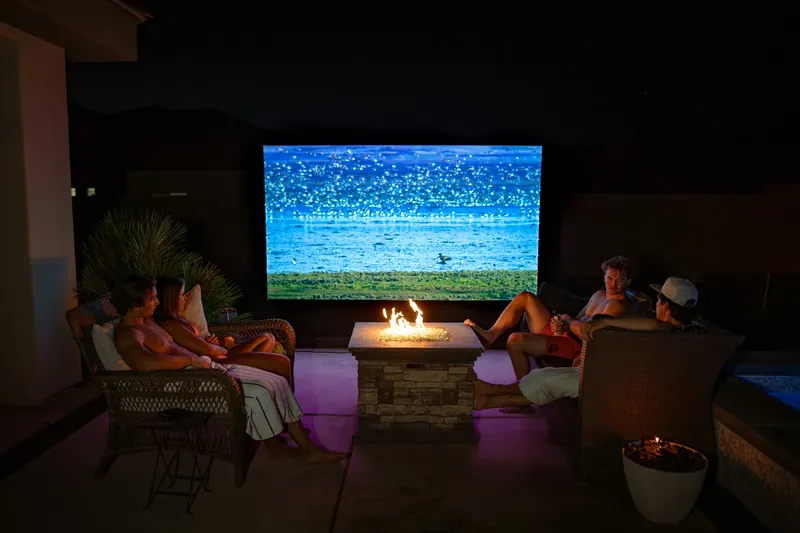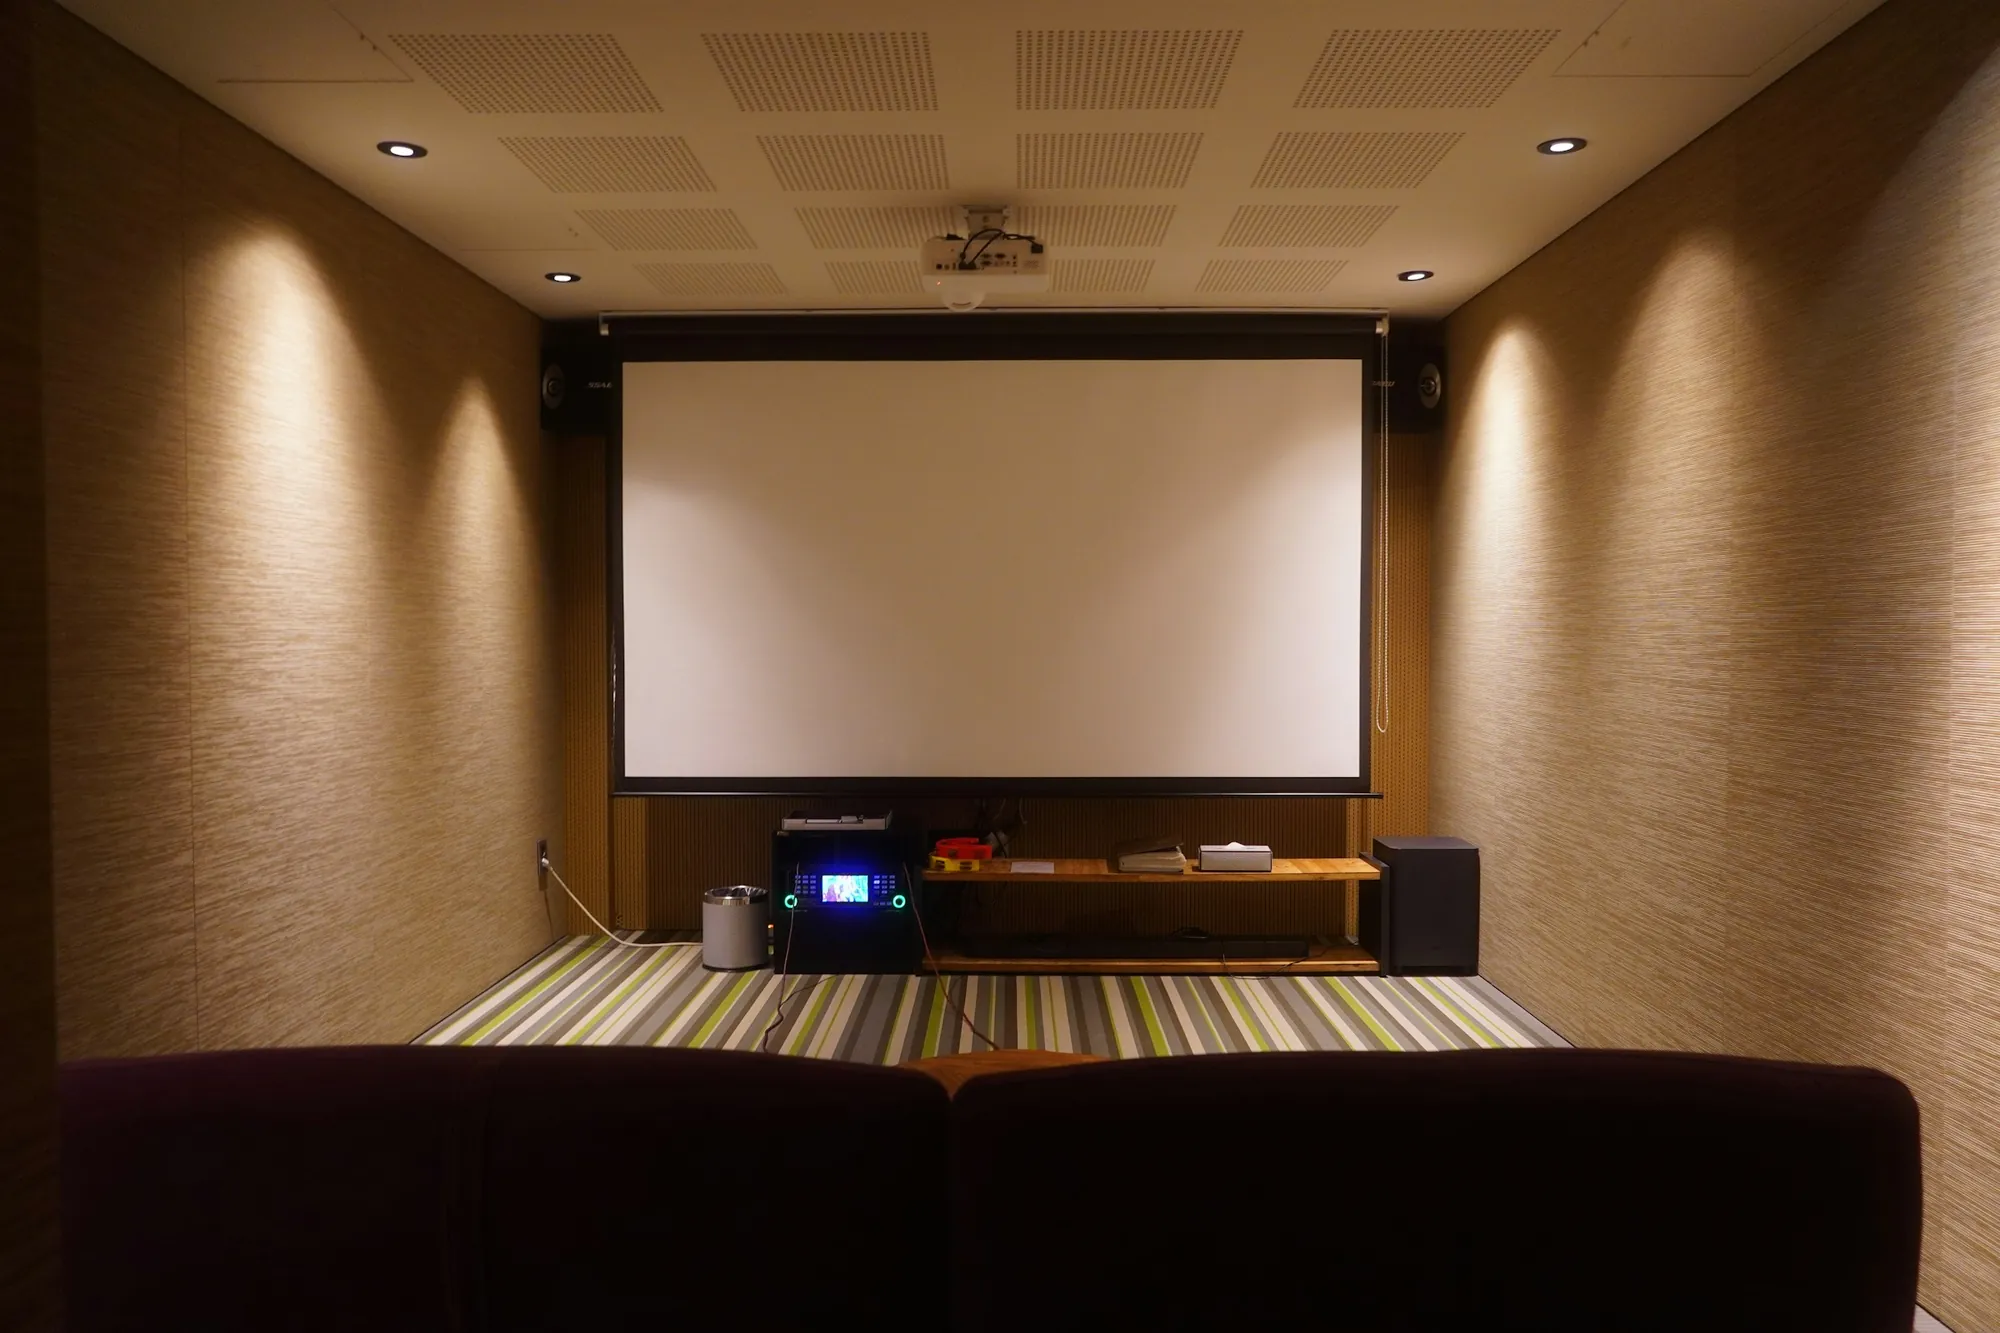
Short answer: hang the screen first, then bring the projector to it. Put the projector on a level console centered on the screen, slide it toward or away from the wall until the picture is the width of the screen, raise or lower it until the picture sits in the frame, and only then touch focus. Use digital keystone as little as you can: it costs sharpness. Plan about an hour with a helper. If the idea worries you, pick a projector with automatic alignment such as the XGIMI MIRA Pro, or one with optical lens shift.
What do you need to measure before you buy?
Three numbers save most returns. The wall: a 100-inch 16:9 picture is 87 inches wide and 49 high; a 120-inch one is 105 by 59. Add a couple of inches of frame. The console depth: the projector sits partly in front of the wall, and the bigger the picture, the further out it goes. The console height: the picture starts some inches above the projector, so a tall console pushes the screen toward the ceiling.
The distance comes from the throw ratio, which every brand publishes: lens-to-screen distance divided by picture width. At 0.25:1, a 100-inch picture needs the lens 21.8 inches from the screen; at 0.16:1, 13.9 inches. The lens sits toward the front of the cabinet, so the gap behind the projector is smaller than that. Our throw distance calculator gives the figure for each of the 15 projectors we compare and any screen size.
Where does the projector go relative to the screen?
Centered left to right, exactly. An ultra short throw has no horizontal adjustment to speak of: if the lens is an inch left of the screen's center line, the picture is a trapezoid. Mark the center of the wall and the center of the console with tape before you start.
Vertically, the picture begins a fixed distance above the top of the projector; brands call it the offset and print it in the manual, usually as a diagram with a table of distances per screen size. It grows with the picture. This is the measurement people forget, and it is why the screen goes up first only after you have read that table. The practical consequence: on a tall console, the bottom of the picture can end up well above seated eye level. If your eyes would sit much lower than the middle of the picture, choose a lower console.
How do you align the picture, step by step?
One: hang the screen level, using the offset table to set its height. Two: place the projector centered, with a level across its top. Three: project the alignment grid from the settings menu. Four: slide the projector straight back or forward until the grid is as wide as the screen. Five: if the picture is too high or low, adjust the feet evenly, or change the console height; if one side is taller than the other, the projector is rotated, so twist it by a hair. Six: if the top is wider or narrower than the bottom, the projector is tilted forward or back; level it front to rear.
Movements are tiny and the picture exaggerates them: a quarter of an inch at the cabinet is an inch or more at the top of the screen. Work in small nudges and re-check the corners each time. Then set focus, using small text in the grid's corners, not the center.
Video: "How To Align Your Ultra Short Throw (UST) Projector WITHOUT Keystone", The Hook Up on YouTube. Not made by us; chosen because it shows the projector or the topic clearly.
Why should you avoid keystone correction?
Digital keystone makes a crooked picture look straight by shrinking and reshaping the image inside the chip. It works, and it costs you: the picture no longer uses every pixel, fine text softens, and a faint gray border appears around the image where unused pixels still leak a little light. On an 8-point correction this is barely visible for small fixes, which is what it is for. Using it to rescue a projector that is two inches off-center is how sharp projectors get a reputation for being soft.
Two features do the job without that cost. Automatic screen alignment (XGIMI calls it ISA, Hisense Auto Screen Fit) uses a camera to fit the picture to your frame; it is still digital, but precise and instant, and you can redo it whenever the cabinet gets bumped. Optical lens shift, found on the AWOL LuxVision, moves the image inside the lens itself with no pixel loss at all.
Which projectors are the easiest to set up?
If setup is your worry, three models from our comparison stand out. The XGIMI MIRA Pro ($1,699) has automatic screen alignment and motorized focus, and weighs 11.7 lb, so nudging it is easy. The JMGO O2S Ultra ($2,199) lists instant auto keystone and auto focus and has the shortest throw here: JMGO says a 100-inch picture needs only 6.6 inches between the projector and the wall, so it stays on a shallow console. The AWOL LuxVision adds optical lens shift, at a flagship price.
At the other end, projectors with manual focus and a 0.25:1 throw, such as the Epson Lifestudio Grand, ask for a deeper console and a bit more patience. None of them is hard. It is an hour of careful nudging, once.
What about cables, sound and the console?
Run cables before the final alignment, because plugging in an HDMI lead afterwards moves the projector. You need power, and HDMI for a console or a box. For sound, connect a soundbar or receiver to the HDMI port marked eARC, so Dolby Atmos passes through from the built-in apps. Don't put a soundbar in front of the lens: anything taller than the projector between it and the screen casts a shadow at the bottom of the picture.
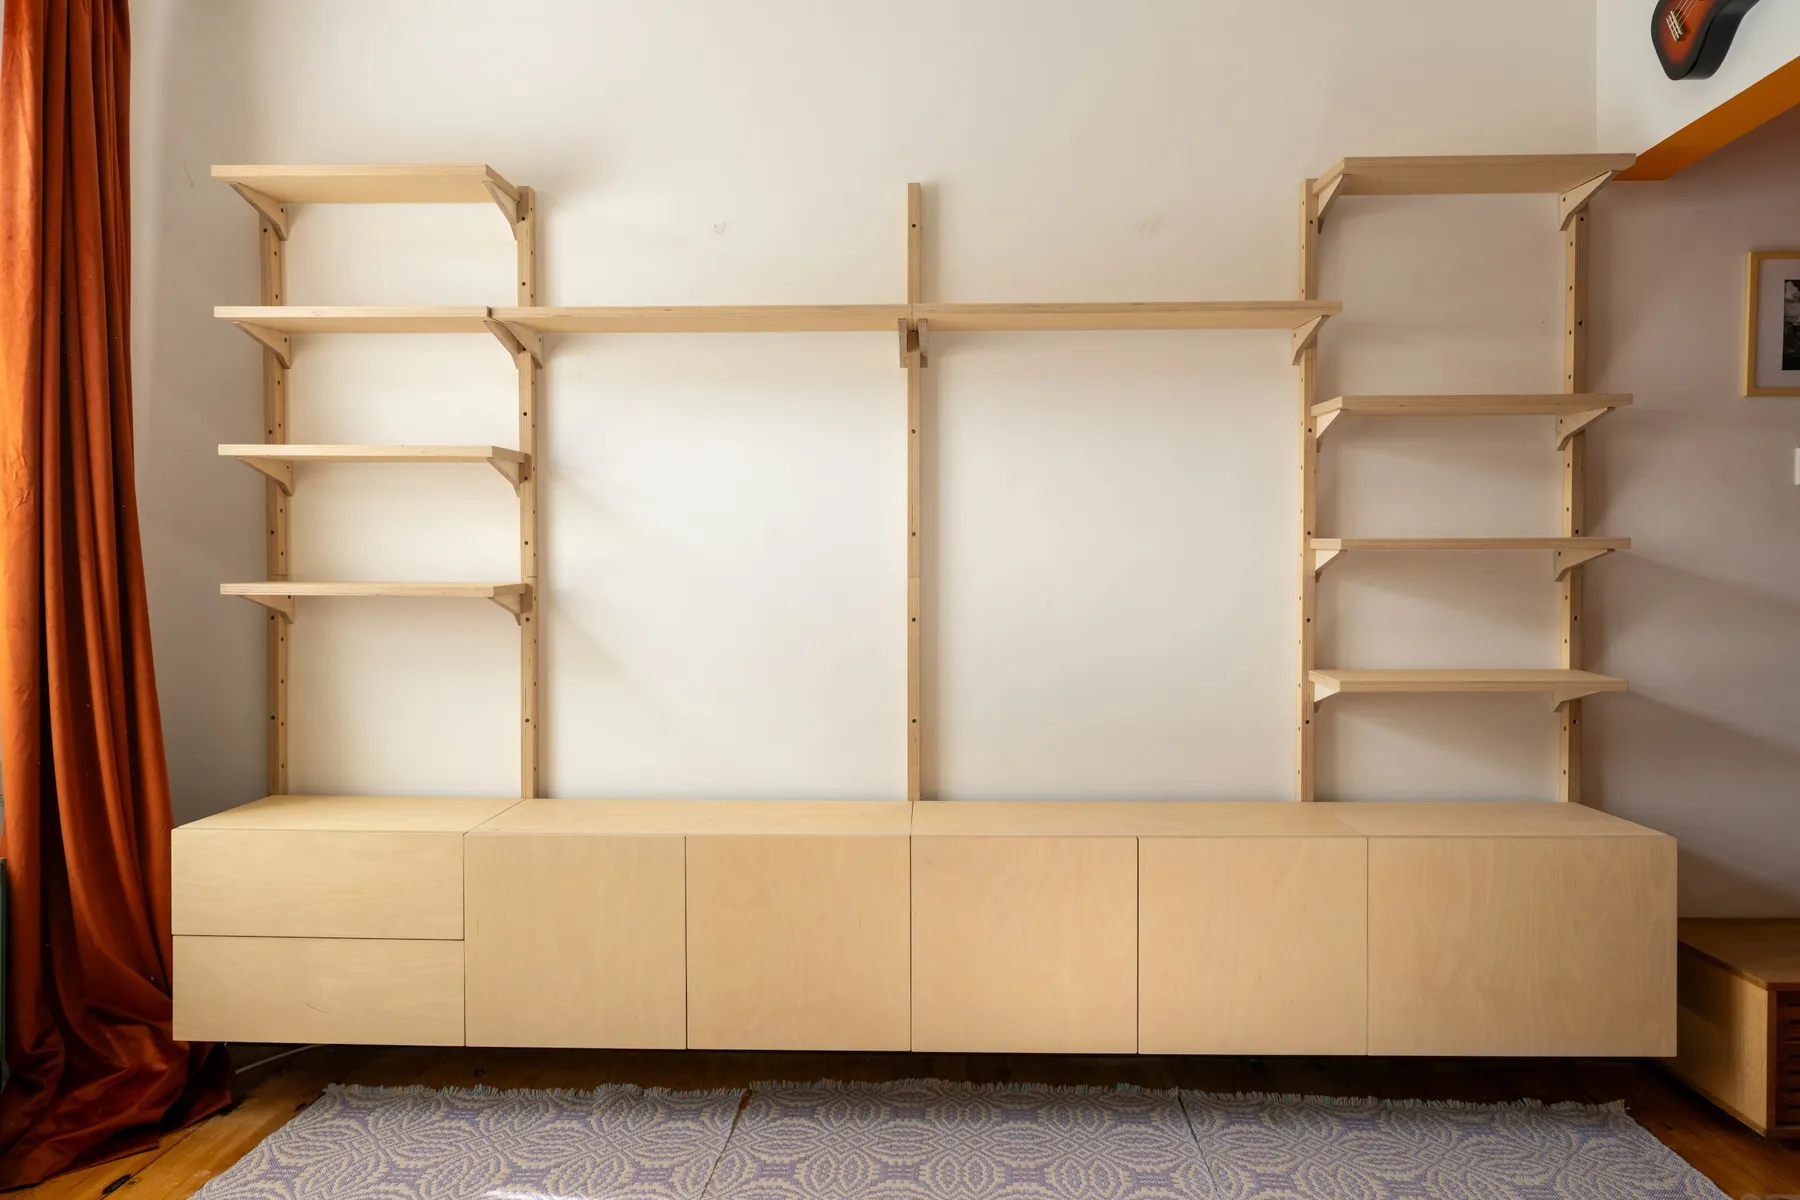
Consoles made for UST projectors have a sliding tray or a recessed top that hides the projector and keeps people from bumping it. They are nice, not necessary. What matters is that the surface is level, deep enough, and doesn't wobble when someone walks past, because a wobble at the cabinet is an earthquake on the screen.
What are the mistakes people make most often?
Buying the screen size before measuring the console depth and height. Hanging the screen at TV height, then finding the picture can't reach it. Projecting on a wall "for now" and judging the projector by a rippled, washed-out image. Fixing a two-inch placement error with keystone. Leaving the projector on Vivid mode because it is the brightest. And cleaning the lens with a T-shirt: use the cloth that comes in the box or a lens blower.
One more, about expectations: the first alignment is the slow one. After that, a bump is a two-minute fix, and with automatic alignment it is one button. If you haven't chosen a projector yet, our ranking of the best ultra short throw projectors lists the focus and alignment aids of each model.